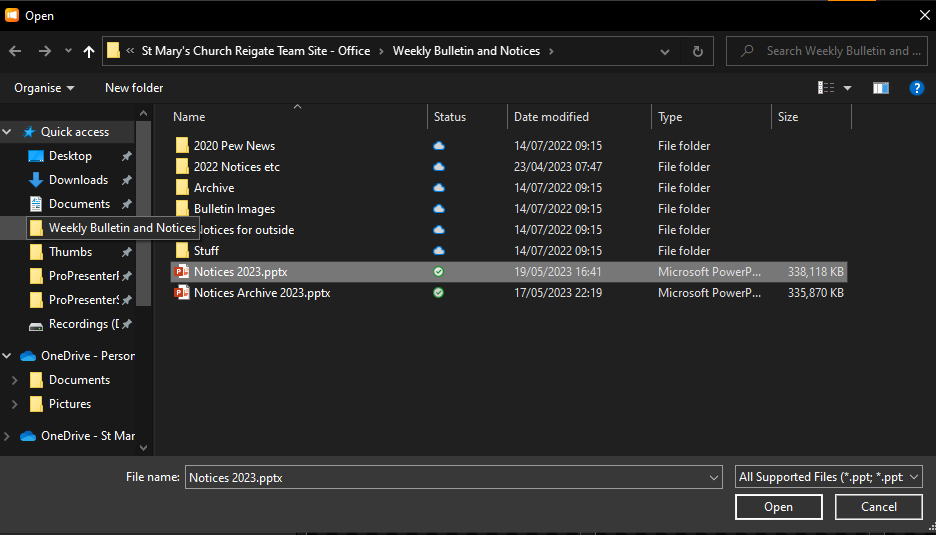
In ProPresenter go up to Edit -> Import. Navigate to St Mary’s Team Sit / Weekly Bulletin and Notices, and select the Notice 2023.pptz file and click open. (There’s a shortcut to the folder onn the left in the File Explorer)
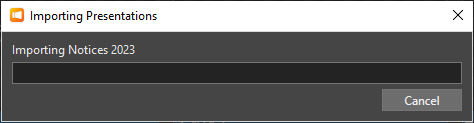
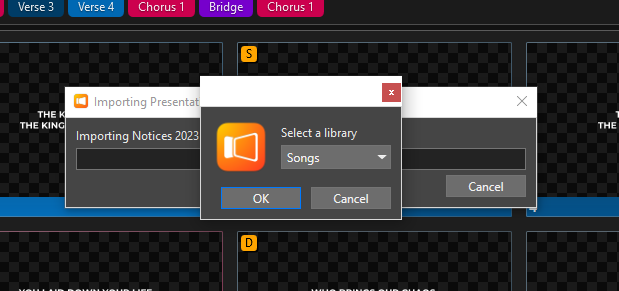
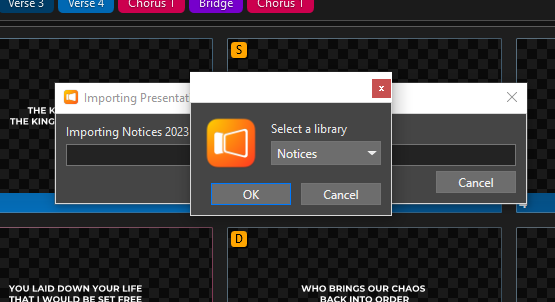
A bar appears indicating progress. In the box that appears on top, select the Notices library from the drop down menu.
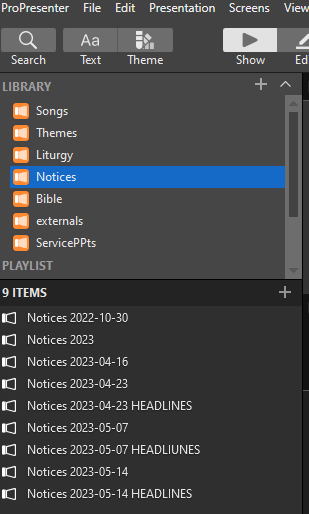
Head to the notices Library now on the left menu
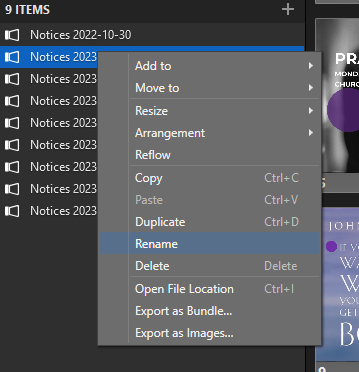
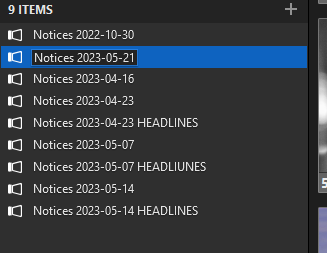
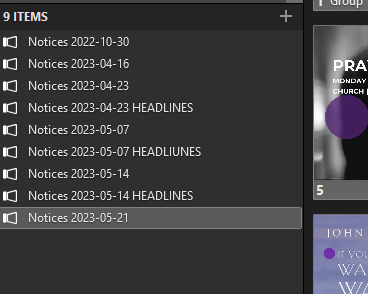
Right click on “Notices 2023” and rename it to that Sunday’s date (yyyy-mm-dd)
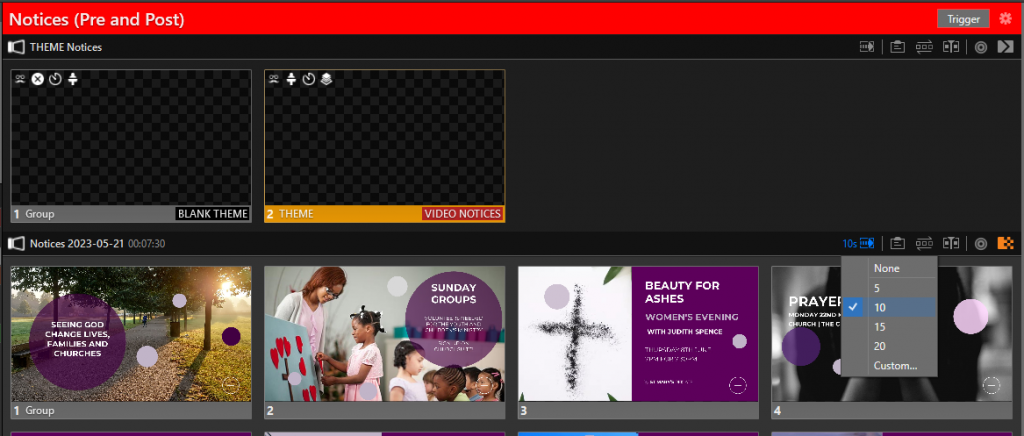
Now on the right hand side of that screen, you can set the slide duration using the furthmost left icon. Choose 10 seconds.
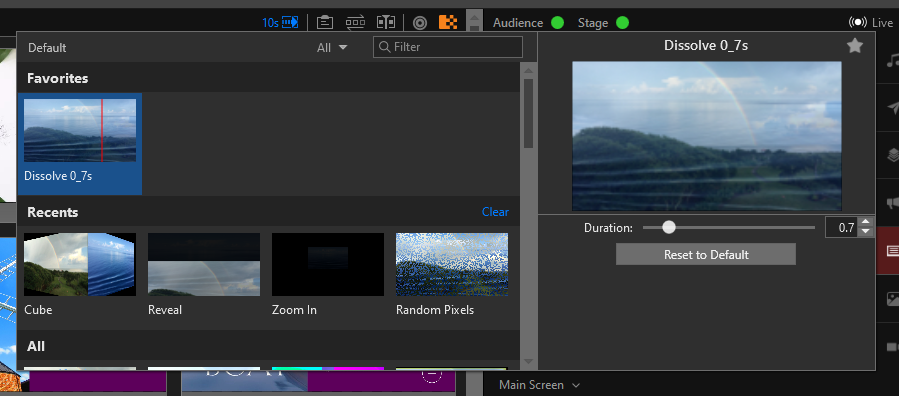
The last thing you need to do is change the slide transition type. Using the most right icon, a square fading into blocks, you should be able to find “Dissolve 0.7s” in our defaults. If not, find Dissolve in the list, and change the duration time to 1 second or so.
Done!
Creating NOTICE HIGHLIGHTS
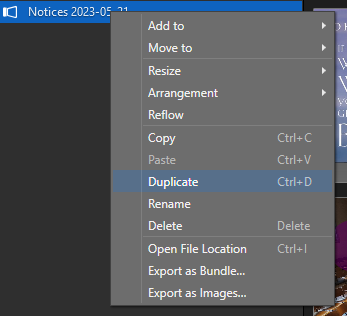
Go back to the Notices library, and find the Sunday’s notices you’ve already created above. Right click and click duplicate.
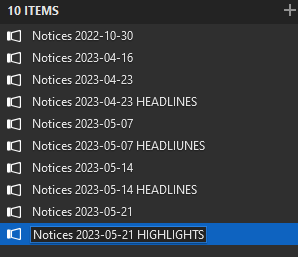
Right click the new duplicate, and hit rename. You want to rename it and affix HIGHLIGHTS to the end (or headlines, looking backing at my screenshot!)
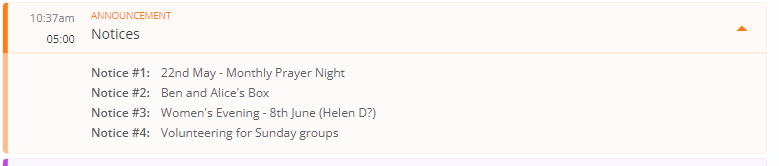
Now look at the notices block on the Service Plan. There should be 1-4 notices listed there. You want to remove any slides on this new Headlines slideshow that aren’t there, and rearrange the one’s remaining into the correct order.
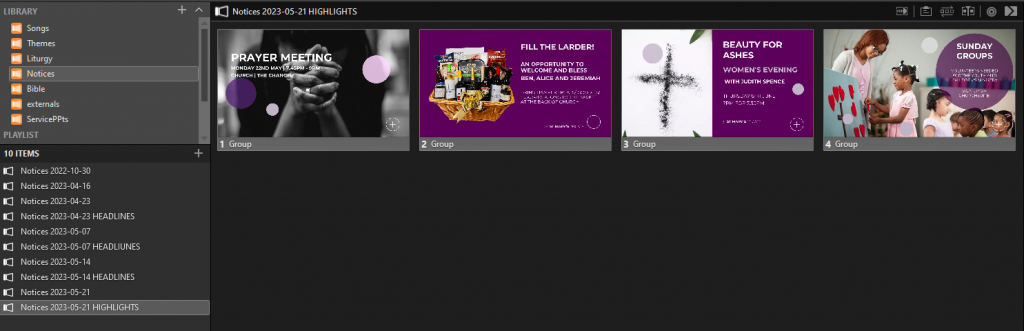
The end result should look something like this. Note: we don’t need to add the automatic slide duration time on this, so if you’ve done this part after setting the timer, you’ll need to reverse the process.